
How to Set Up Your Reffero Creator Store (From Sign-Up to First Sale)
A step-by-step walkthrough for Nepali creators: creating your Reffero account, completing KYC, picking products, and going live with a storefront your followers can actually buy from.
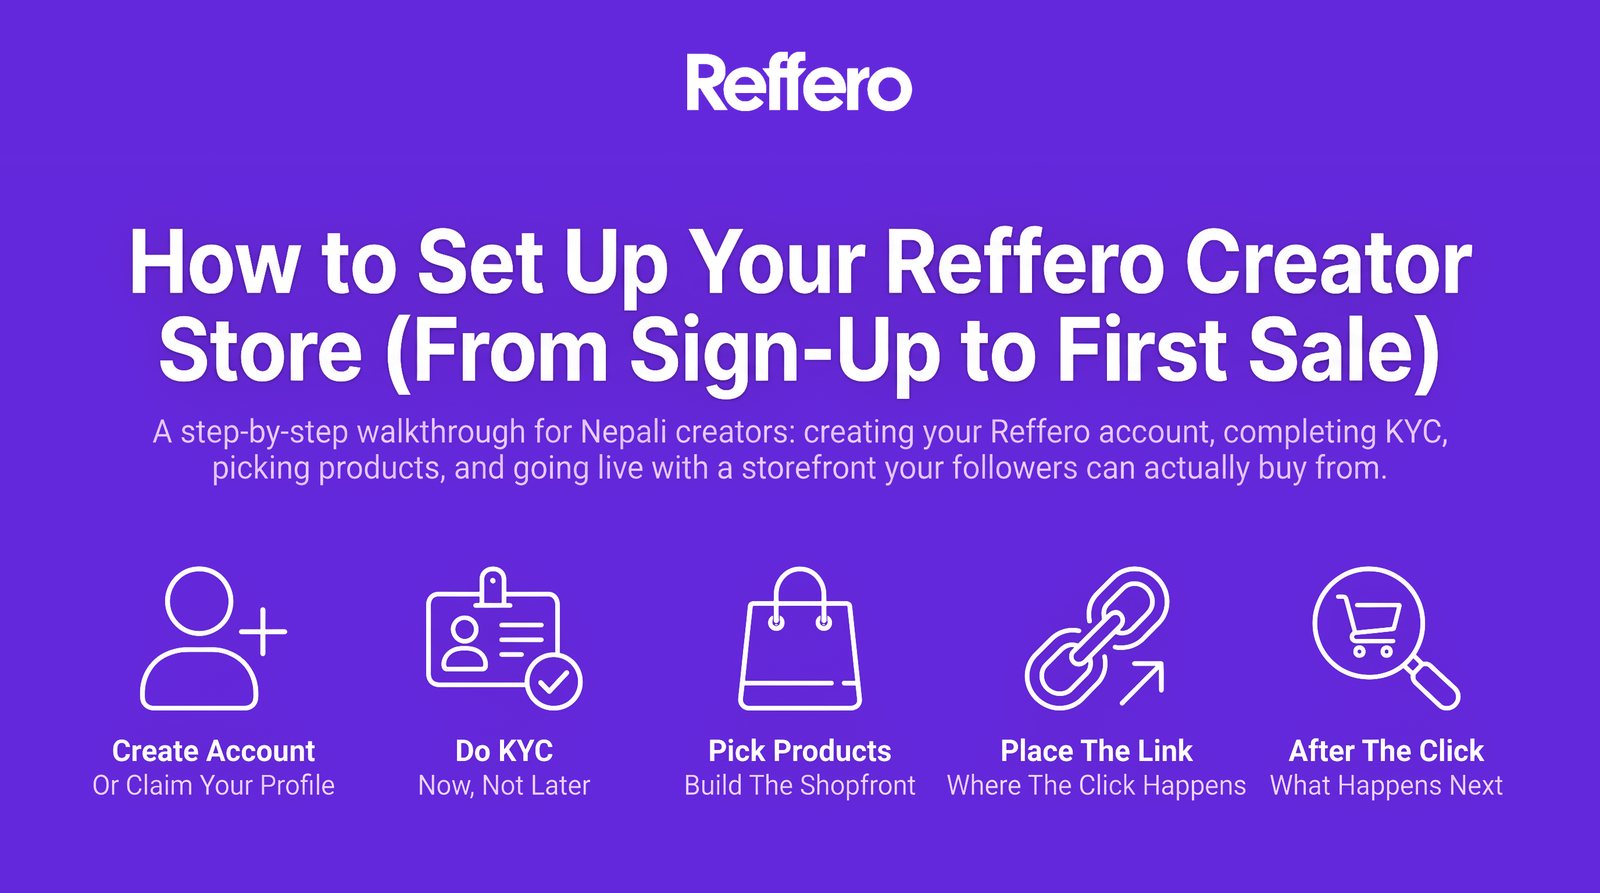
You've seen the storefront links in other creators' bios. Here's the whole path from zero to your own, in the order that avoids the two most common holdups.
Step 1: Create your account (or claim your profile)
Sign up with your phone number and fill in the profile details Reffero asks for on the way in. One thing worth checking first: you might already be on Reffero. Hundreds of Nepali creators have profiles waiting to be claimed. If your handle shows up, claiming it takes over the storefront that already exists instead of starting a new one.
Either way, the tutorials page has a video for each path.
Step 2: Do KYC now, not later
Identity verification is the step creators postpone, and it's the only step that can hold up your money. Commission you earn sits in your wallet regardless, but payouts to your bank need a verified identity. Submit your documents on day one, while you're setting up products, and the review happens in the background instead of standing between you and your first payout.
Step 3: Pick products and build the shopfront
This is where the affiliate module does the work: browse the catalog, grab a product, and generate your link. No vendor approval, no negotiation: pick and post. Your store assembles itself at your own link, with your colors, your banner, your product picks.
Two curation rules that separate stores that sell from stores that sit:
- Stock your niche, not the catalog. A beauty creator with twelve skincare picks outsells one with sixty products across every category. Your store is a recommendation, and recommendations lose power when they're indiscriminate.
- Lead with what you've actually shown. The products you've used on camera convert best, because the story already exists.
Step 4: Put the link where the click happens
Bio link first, then every relevant post. When a follower taps through, checkout happens inside Reffero with cash on delivery or QR, using just a phone number: no app download, no signup wall. That matters more than it sounds: most Nepali link-in-bio setups die at a redirect to a checkout the buyer doesn't trust. (We compared the options in our link-in-bio tools guide.)
Step 5: Understand what happens after the click
Every click and order is tracked server-side with 30-day last-click attribution, so a follower who sees your story today and orders next week is still your sale. When an order confirms, your commission locks in an escrow wallet; when it's delivered, the money releases. No invoices, no chasing.
From there the flywheel starts turning: tracked sales become the numbers that win you brand deals, and those deals pay a fee on top of the commission you're already earning.
The afternoon checklist
- Sign up, or claim your existing profile
- Submit KYC immediately
- Add 8–15 products in your niche
- Store link in bio
- First post pointing at one specific product
That's the whole setup. Everything after that is content, which is the part you were already doing.
Your storefront, tracked links, and Buy Me a Chiya are free forever on Reffero, and the pricing page shows what the paid tiers add. See if your handle is still free.